
Here we are with Nebi’s Fethiye fishing boat model building guide Part 2. I will try to translate his words into English for you.
For the 1st part, please click here.
To download plans of the boat, please click here.
Last time, i painted the interior of the boat and left it to dry. But it took so long because i made a mistake with the thinner i used for the paint. Because of that, i had to wait for more than one day. So i decided to paint the engine hatch cover in this period.
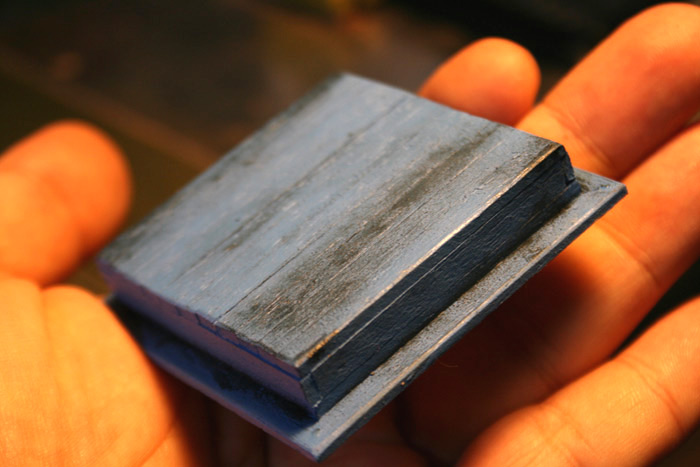
I wanted to try aging effects on this boat which i never tried before. I first tried on the hatch cover to see the result. I had some left over revell black paint from last year. I thought it would have gone bad, but the paint was in good condition. I tried a little oil and wear effect on the hatch cover.
These boats are old veterans, so i think these effects will look good on the model boat. Lets see if i can manage to make it. These effects are as hard and detailed as painting itself.
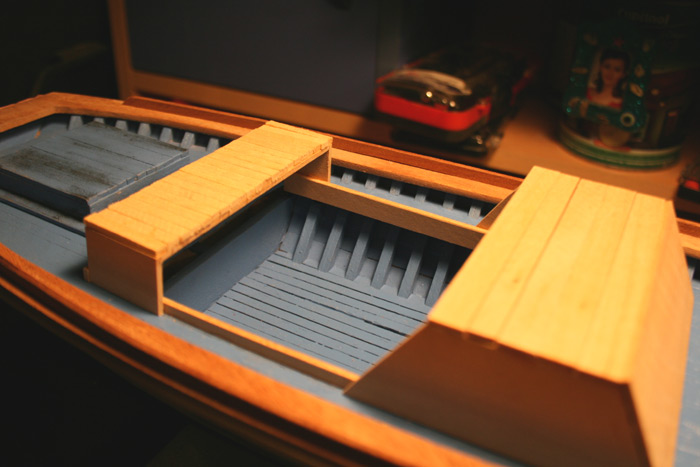
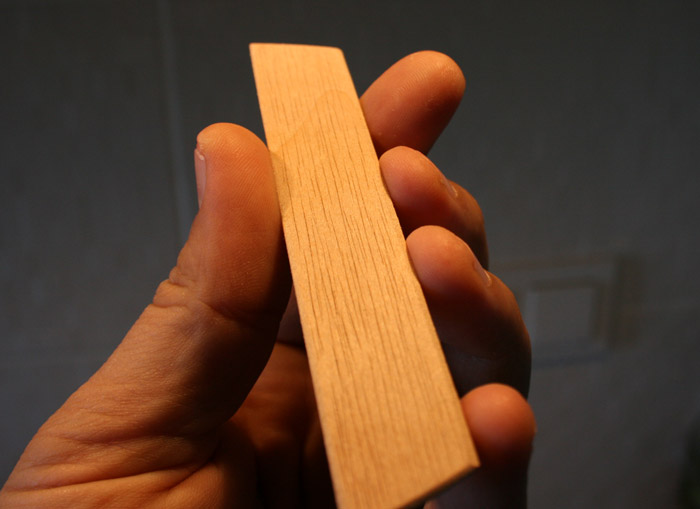
After the interior paint dried, i cut the gunwale with reference to the template i made before. I used mahogany for the gunwale but it doesn’t actually matter cause i will paint it to blue anyway. I cut the gunwale a bit wider, so sanding process took so long. After sanding, i fixed the gunwale to the frames.
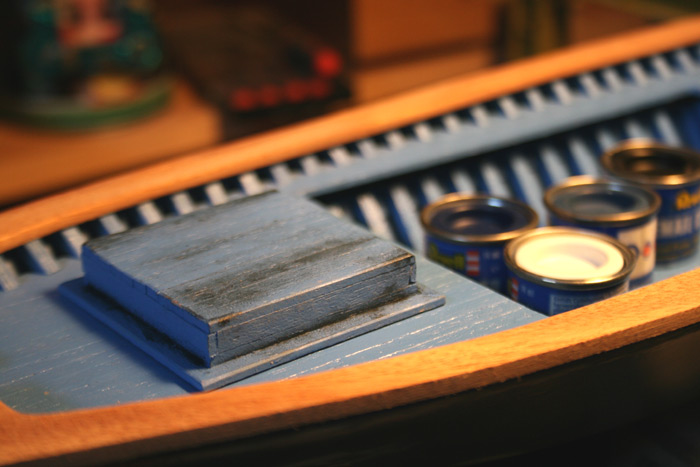
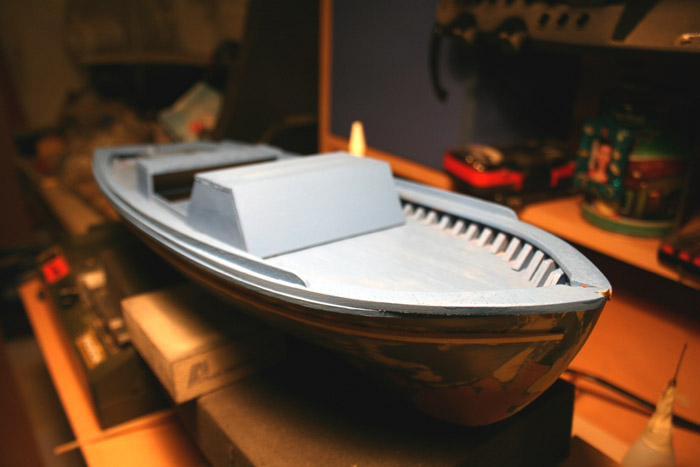
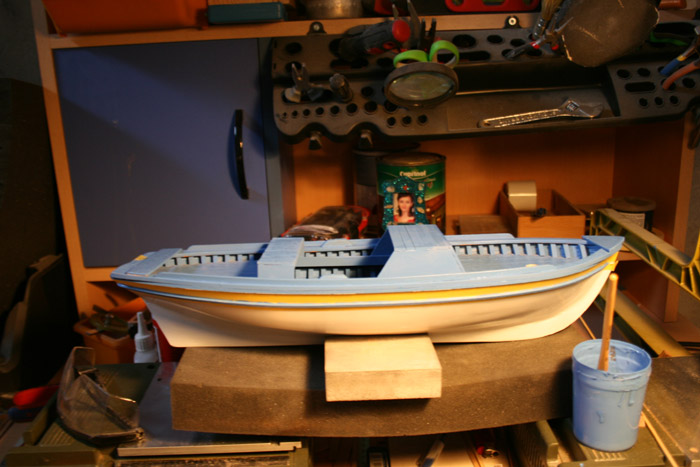
Today i finished the cabins and the bulwarks. I let the model boat to rest after few fixes and putty work.
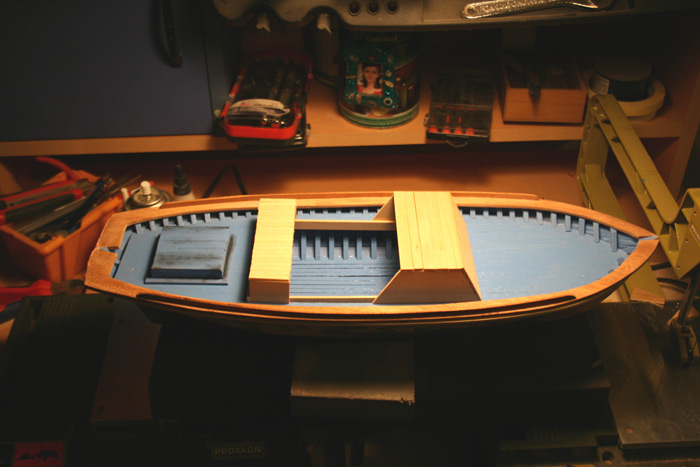
The model boat building process is going a little slow in general. I will do some sanding and paint the cabin next. You can see the current state of the boat below.
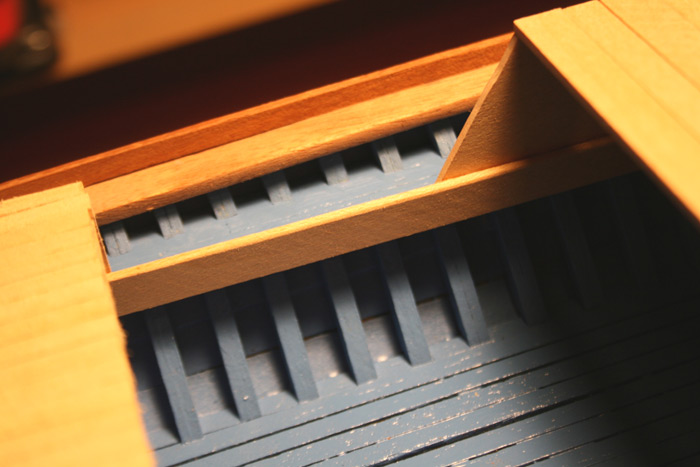
Detail of the frames.
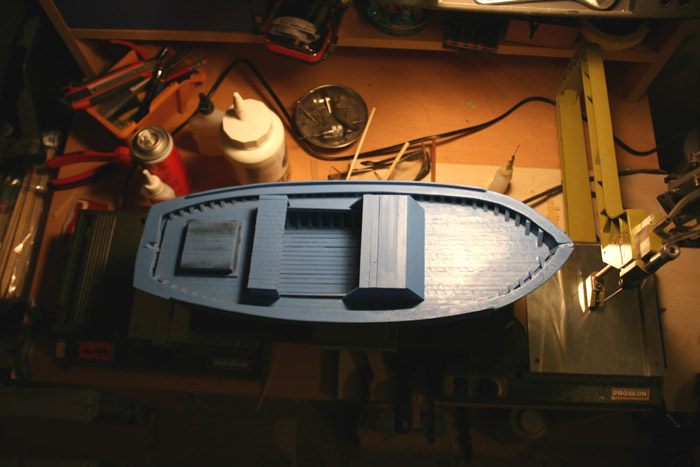
Today i painted the cabin and the rails. I always prefer enamel paint which looks more natural to me. I think painting is the most enjoyable part of model boat building.

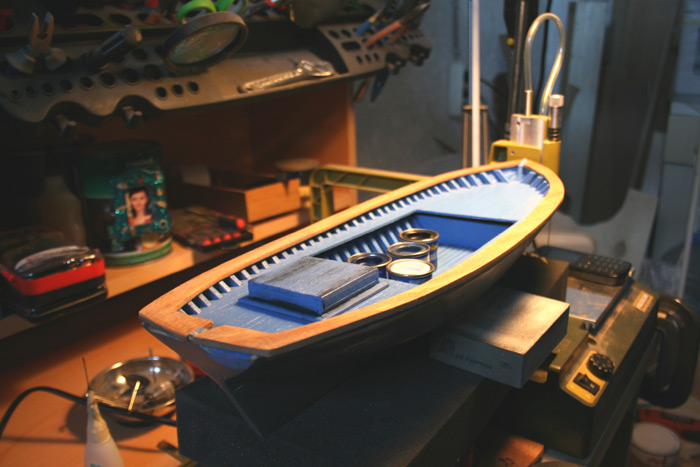
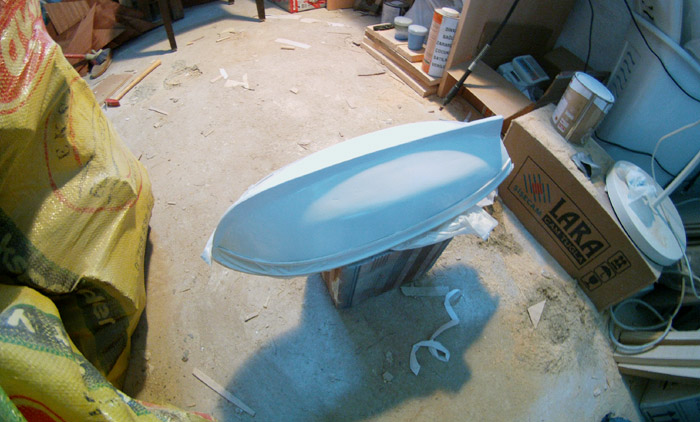
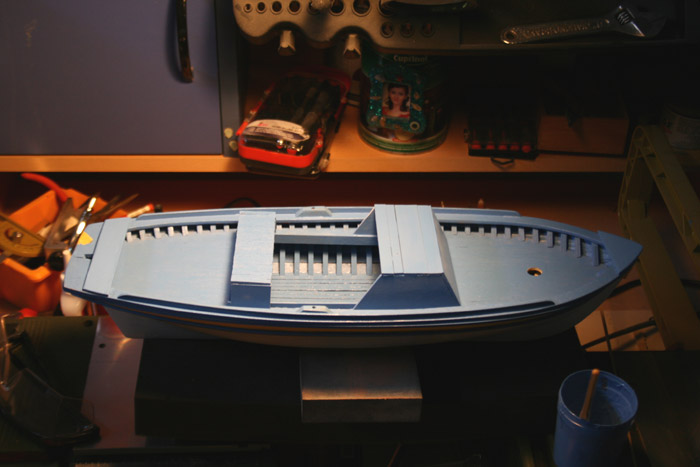
This is how it looks from above. There are still missing parts on deck.
And painting. Eventhough i like to paint by brush, i used spray paint not to wait too long on drying.

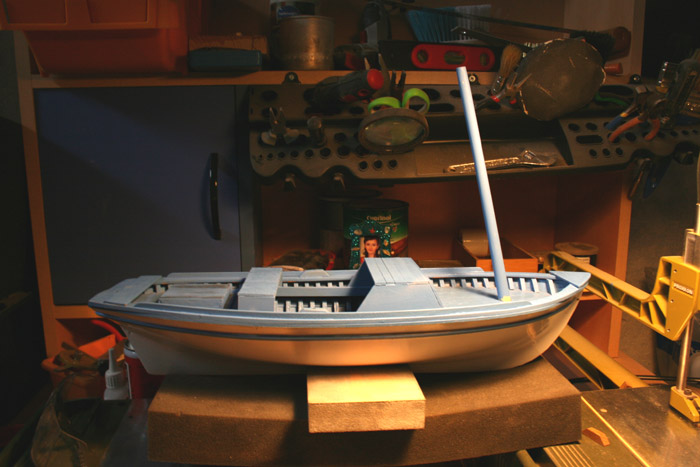
After drying, i drilled the hole for the mast starting with a smaller radious and increasing it to fit the mast.
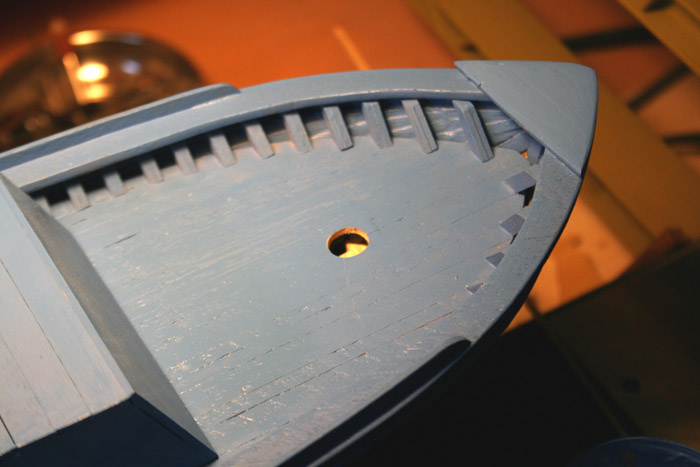
This part where the shade will be attached looked so plain to me, so i decided to make some textures with a blade.

This is how it looks up to now. The details will be added one by one after this point.
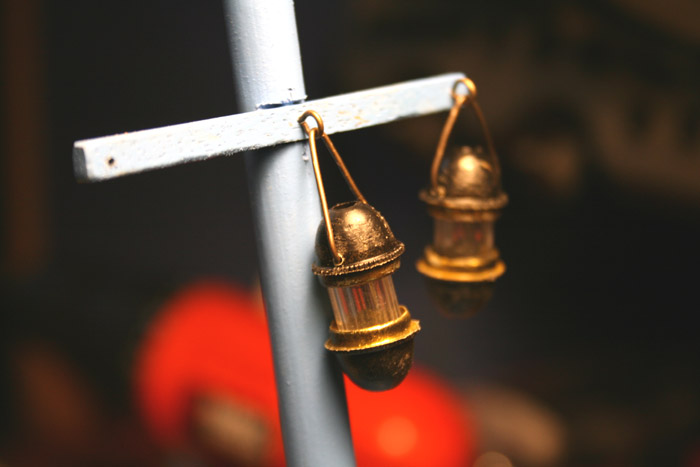
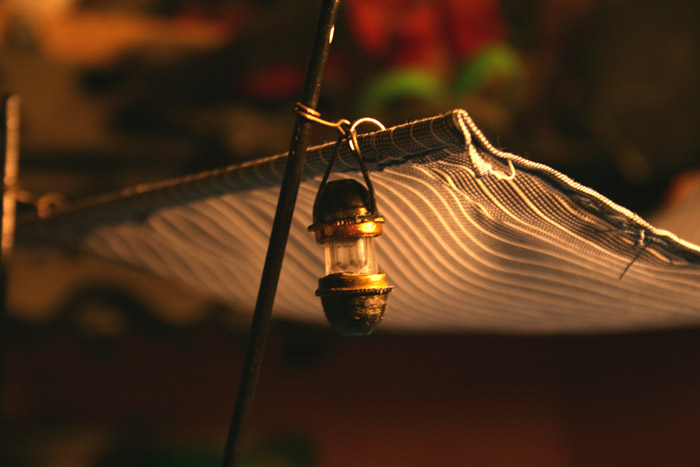
While i was waiting for the boat to dry, i wanted to finish some details. I made the lights and attached them to the mast. I made them from laser pointer tips and a ball point pen casing. It could be better but i thought it is practical and good enough.
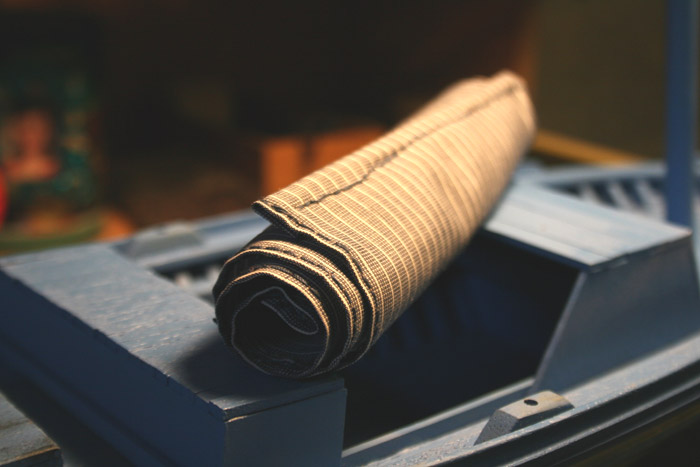
Then comes the shade. I found some shirt cloth and tried to find one with thinner stripes to fit the scale. My wife knit the sides. Hope it will fit.
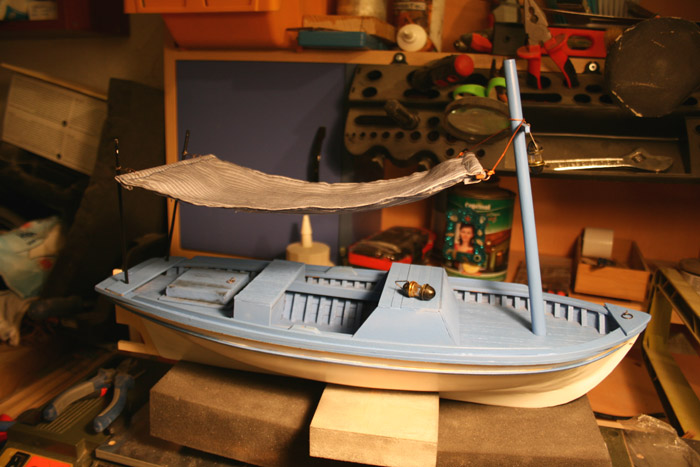
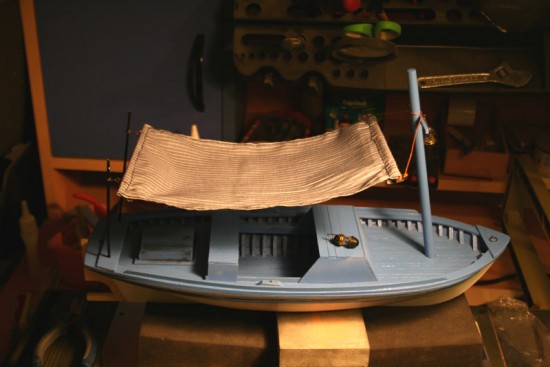
Finally i attached the shade posts to the aft and placed them on the boat. Now it started to look like a Fethiye Fishing Boat. The mast is fixed to its place. There is still a lot to do but i think the most enjoyable part for me is starting now. The aging effects!

All the pictures are taken From Nebi’s blog. I just tried to translate his experiences through his own words.
Click here to download the plan of the boat.
Click to see the first part of the guide.