In this page, i will translate Nebi Yıkaroğlu’s model Fethiye fishing boat building experiences to you from his own blog. If you want to download the plan set, please click here.
Although i am not a very crafty model boat builder, i started to build traditional Fethiye fishing boat’s model. I was the one who drew her model anyway… But when i finished planking and applied putty on the boat hull, i realized a mistake which almost left the boat unrecoverable. The mistake was applying a wood filling putty over the planks and covering it with glue instead of polyester putty as someone advised me. At first, it seemed perfect but with summer heat of Fethiye, the putty started to crack . I was very disappointed. I thought all my effort was trashed and i abandoned my little model boat on my table for the whole summer.

It stayed there untill i grabbed it once more this week and blew the dust on the model away. I started thinking a way to correct it somehow. I worked a lot to draw the plan, so i couldn’t let this model lay under dust and get forgotten. I started removing the putty from the edge of the cracks. And i decided to remove all and start over, document the process and publish it on my blog.

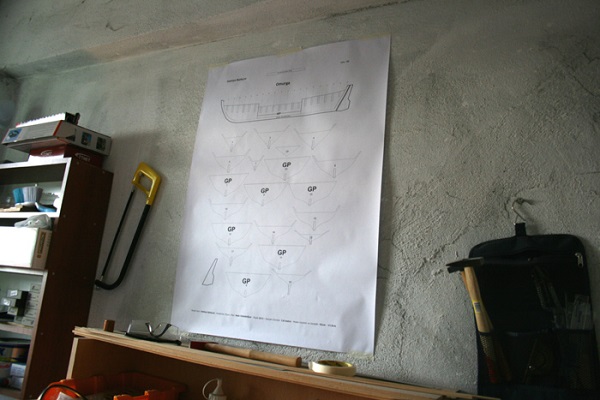
I made up my mind started working. The first step was to hang the plan on the wall. This was a sign showing that i started. To give the building history in right order, i will include the previous steps untill this mistake.
I started with cutting Fethiye fishing boat’s 4 piece keel. I used 4mm poplar plywood for keel and the frames. The reason why the keel was 4 pieces is to prevent the hull bend while planking it.
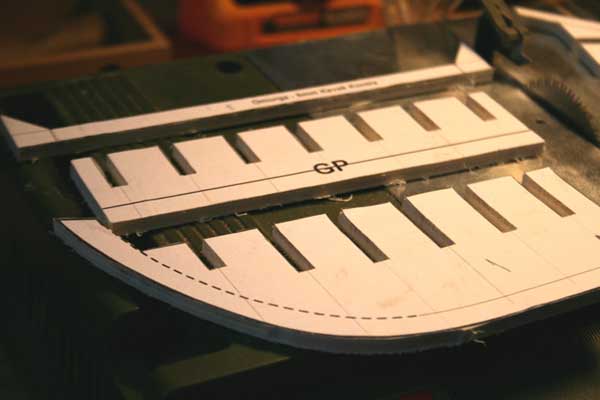
After the keel, i cut 19 frames out of the plywood. I checked each of them carefully and corrected the faults by sanding.
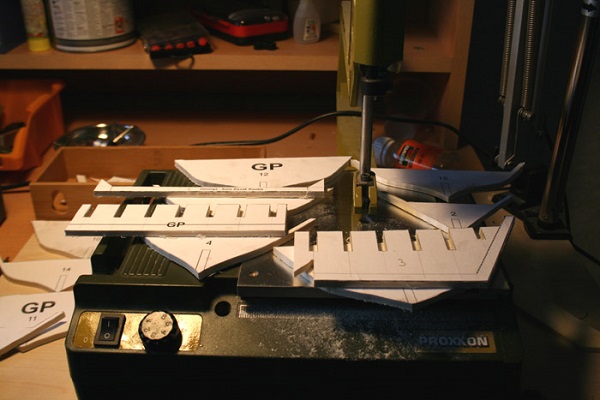
Then i placed the temporary frames which were going to be on the mid section of the boat carefully on the temporary keel. Checked each and fixed them with glue. Now everything is ready to get the keel and the frames together.
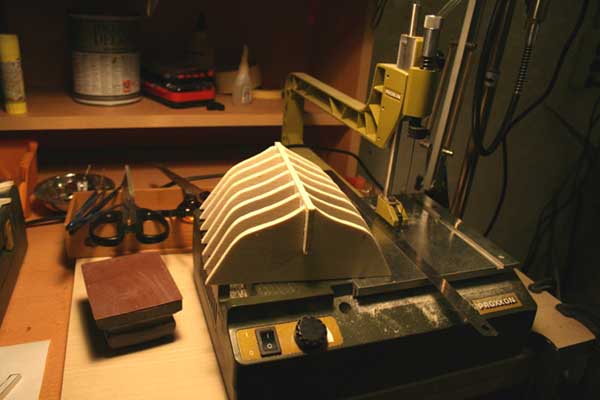
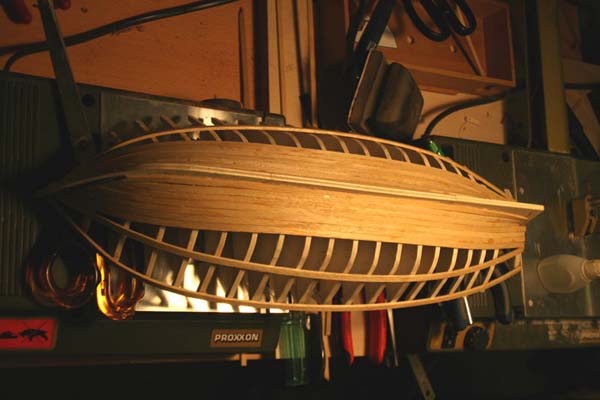
Then i fixed the 3 pieces forming the keel on a straight surface and placed the frames in their pockets. I made sure that each of them are placed right and straight, then i glued and fixed them. Untill this point, there was almost no piece required correction by sanding. All the frames sat on their place firmly.
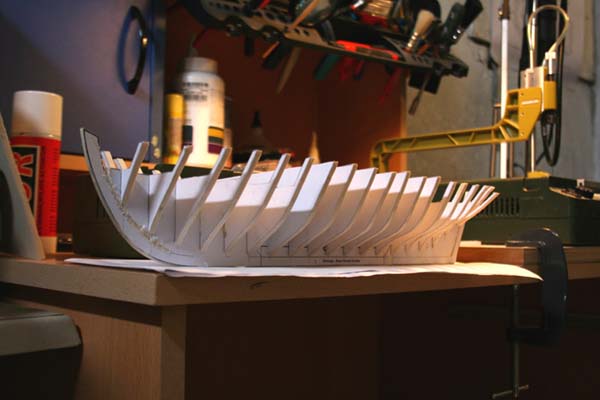
Slowly, i reached to the planking phase. I was very curious about how would it be to plank this boat which has a different form, especially at aft section. I started planking from the keel side of the hull. I started shaping the planks with hot water when i felt a resistence while shaping the planks to the rounder aft and fore frames. Hot water eases the way a lot, made me quite comfortable at the hard areas.
After a while, i placed the top planks and the ones in the middle of the hull. I started to feel hardship at the aft section. Seemed like there will be many filling planks. What would come out especially from my hands as a rookie model builder?
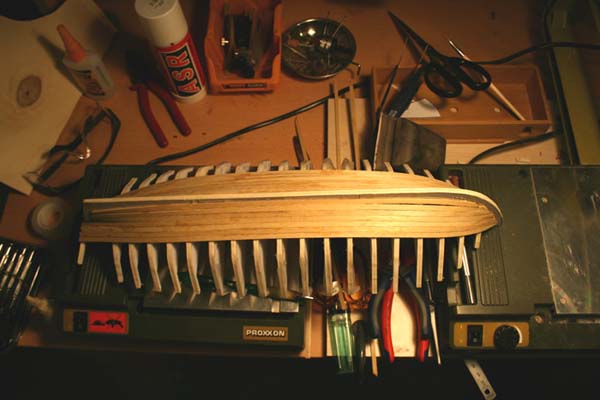
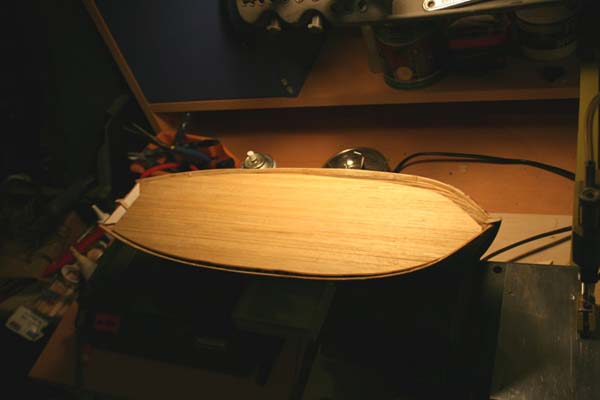
The model looked like this and i did not experience a major problem up to this point.
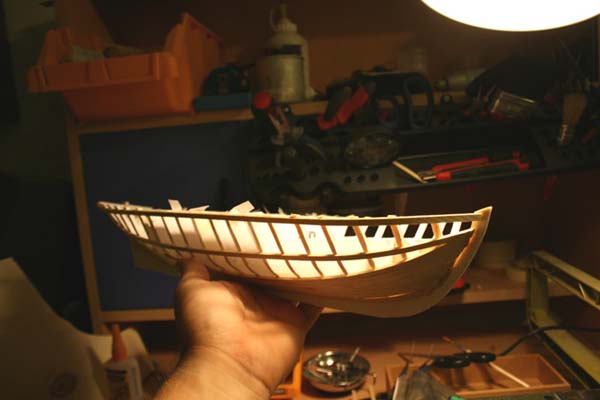
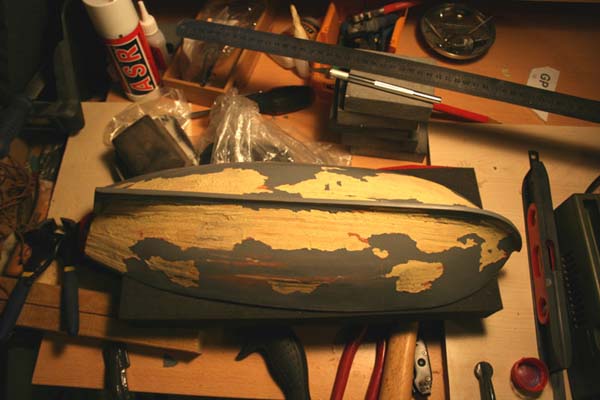
The hull planking is almost finished…
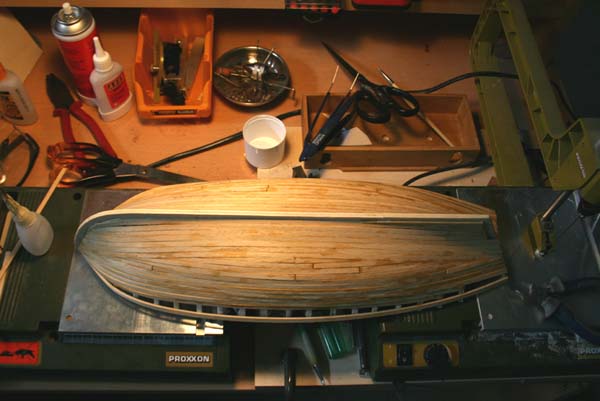

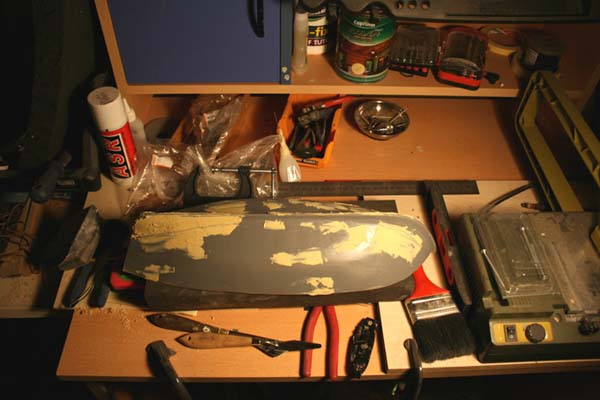
When i finished hull planking and came to putty phase, i encountered an undesired result because of a wrong choice i made as i told you before. The surface of the putty started cracking when the weather got hot. I was so disappointed and i left the project for 3 months. Lesson was learned. Polyester putty is the best.
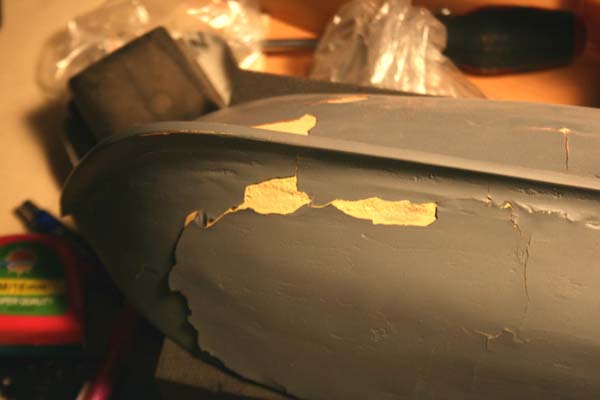
It was a very upset situation. The wrong decision ruined my one week effort. This model was very special to me since it is made from a plan which i drew on my own.
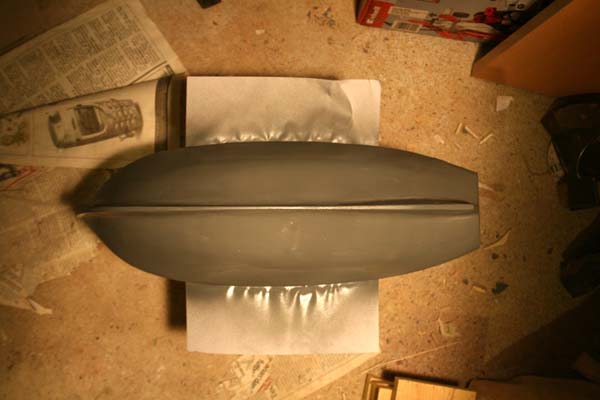
Then i took the boat and i gave myself a second chance. I thought what would it look like after sanding down all the cracked putty and applying polyester putty carefully again? I sanded the old putty carefully and managed to remove all the cracked surface. And i gained my passion back as it is the first day.
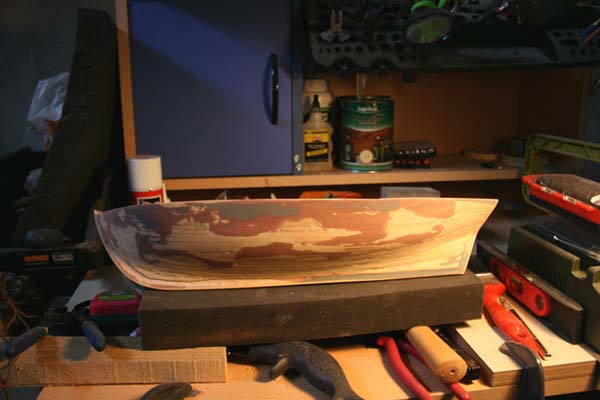
I was so happy to see the model coming alive from it’s ashes. Now it was the time to apply polyester putty and wait for one day.
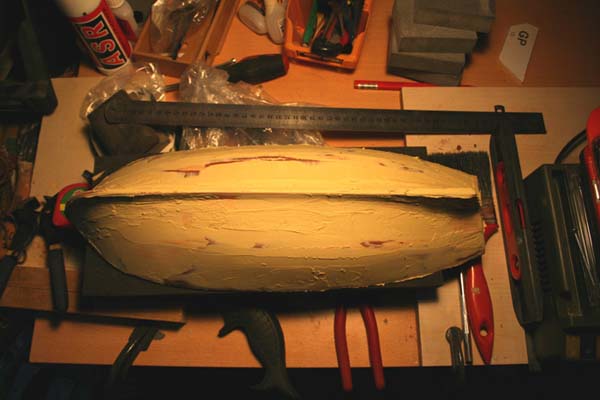
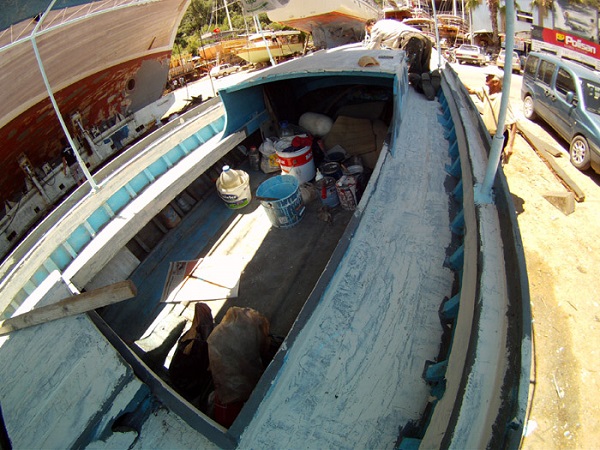
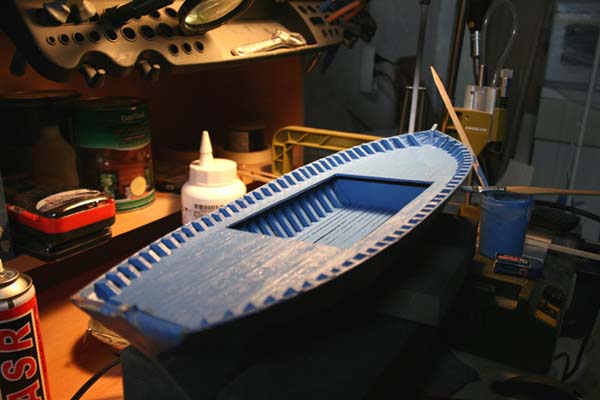
I painted the hull after i sanded the dried putty to check the faulty surfaces. There were few areas but there were no major repair needed. I applied some putty over there and left it to dry for one more day.
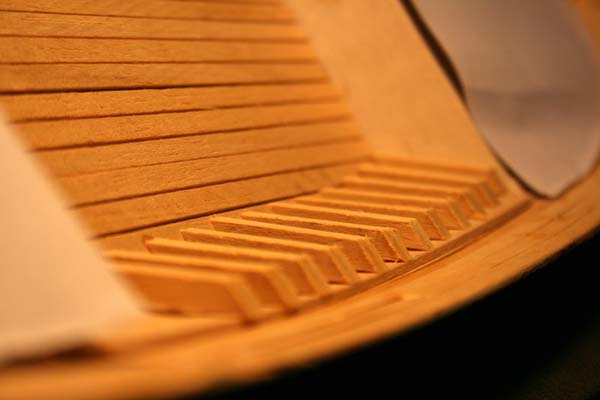
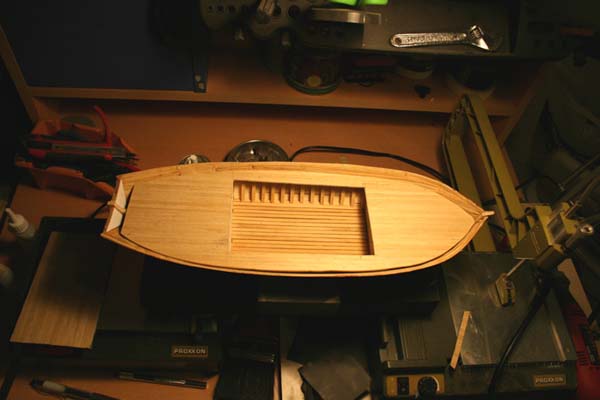
After the second layer of the paint, i obtained a smoother surface and continued sanding with a thinner sand paper. In this phase i also removed the temporary frames and added the bottom planks in the boat. I left small gaps between these planks which i think would look more natural.
Then another layer of paint. Seems like ok. I will continue with some other arrangements in the boat tomorrow.
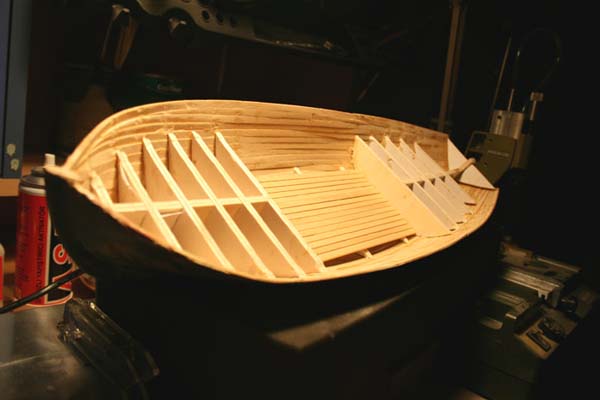
I started placing the fake frames which i cut at 45 degree angles, inside the boat.
The inner side started to get it’s shape. At the same time i cut paper templates to get the shape of the decks.
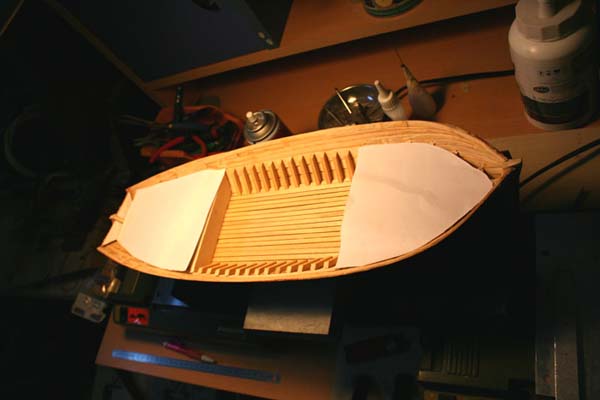
I transfered the template over a cardboard and then cut it out of the deck board.

I placed the deck on it’s place and started shaping it by sanding. After approximately one hour it fit quite nicely.
Continue the deck arrangement…
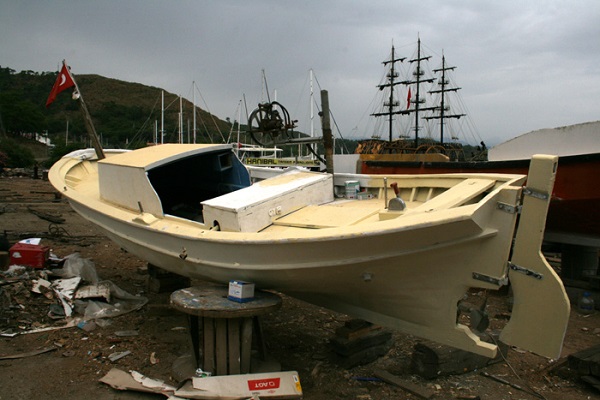
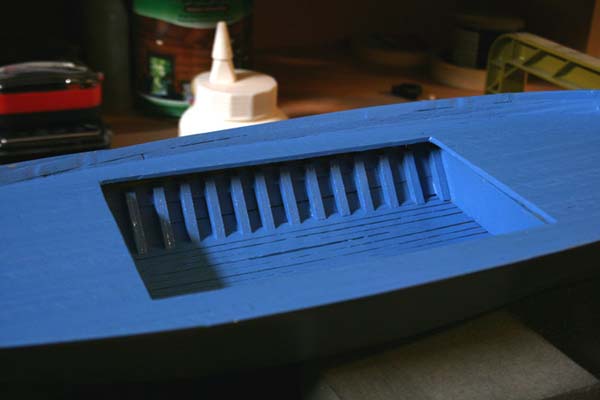
I applied paint on the deck and the middle section. I thought it is a better idea to paint it before placing the deck parts. I used enamel paint and chose the most common color of these traditional boats. “Mediterranean blue”.
I left the paint to dry. But i couldn’t get it thin enough so it seems like it is gonna dry a little slower.
I started placing the frame tips carefully on their places.
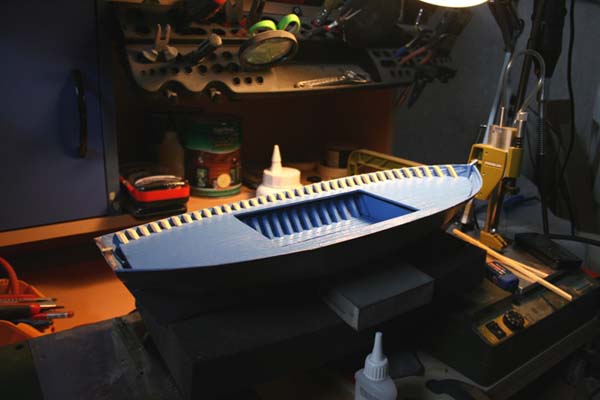
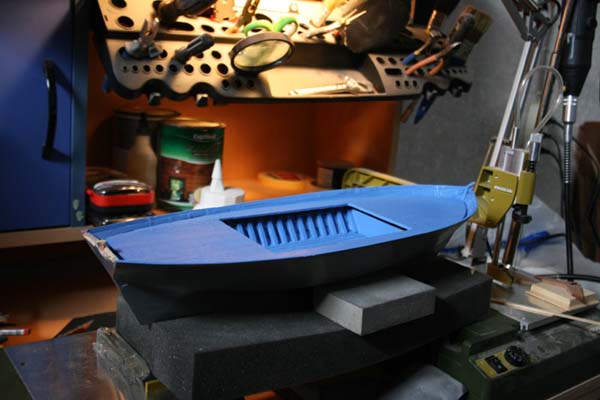
Painting continues after placing the frame tips.
Click here to see Part 2!
Click here to download the model boat plans